Follow Me On Social Media!

Stained Glass Window Cookies: Irresistibly Sweet Treats to Share
Introduction to Stained Glass Window Cookies
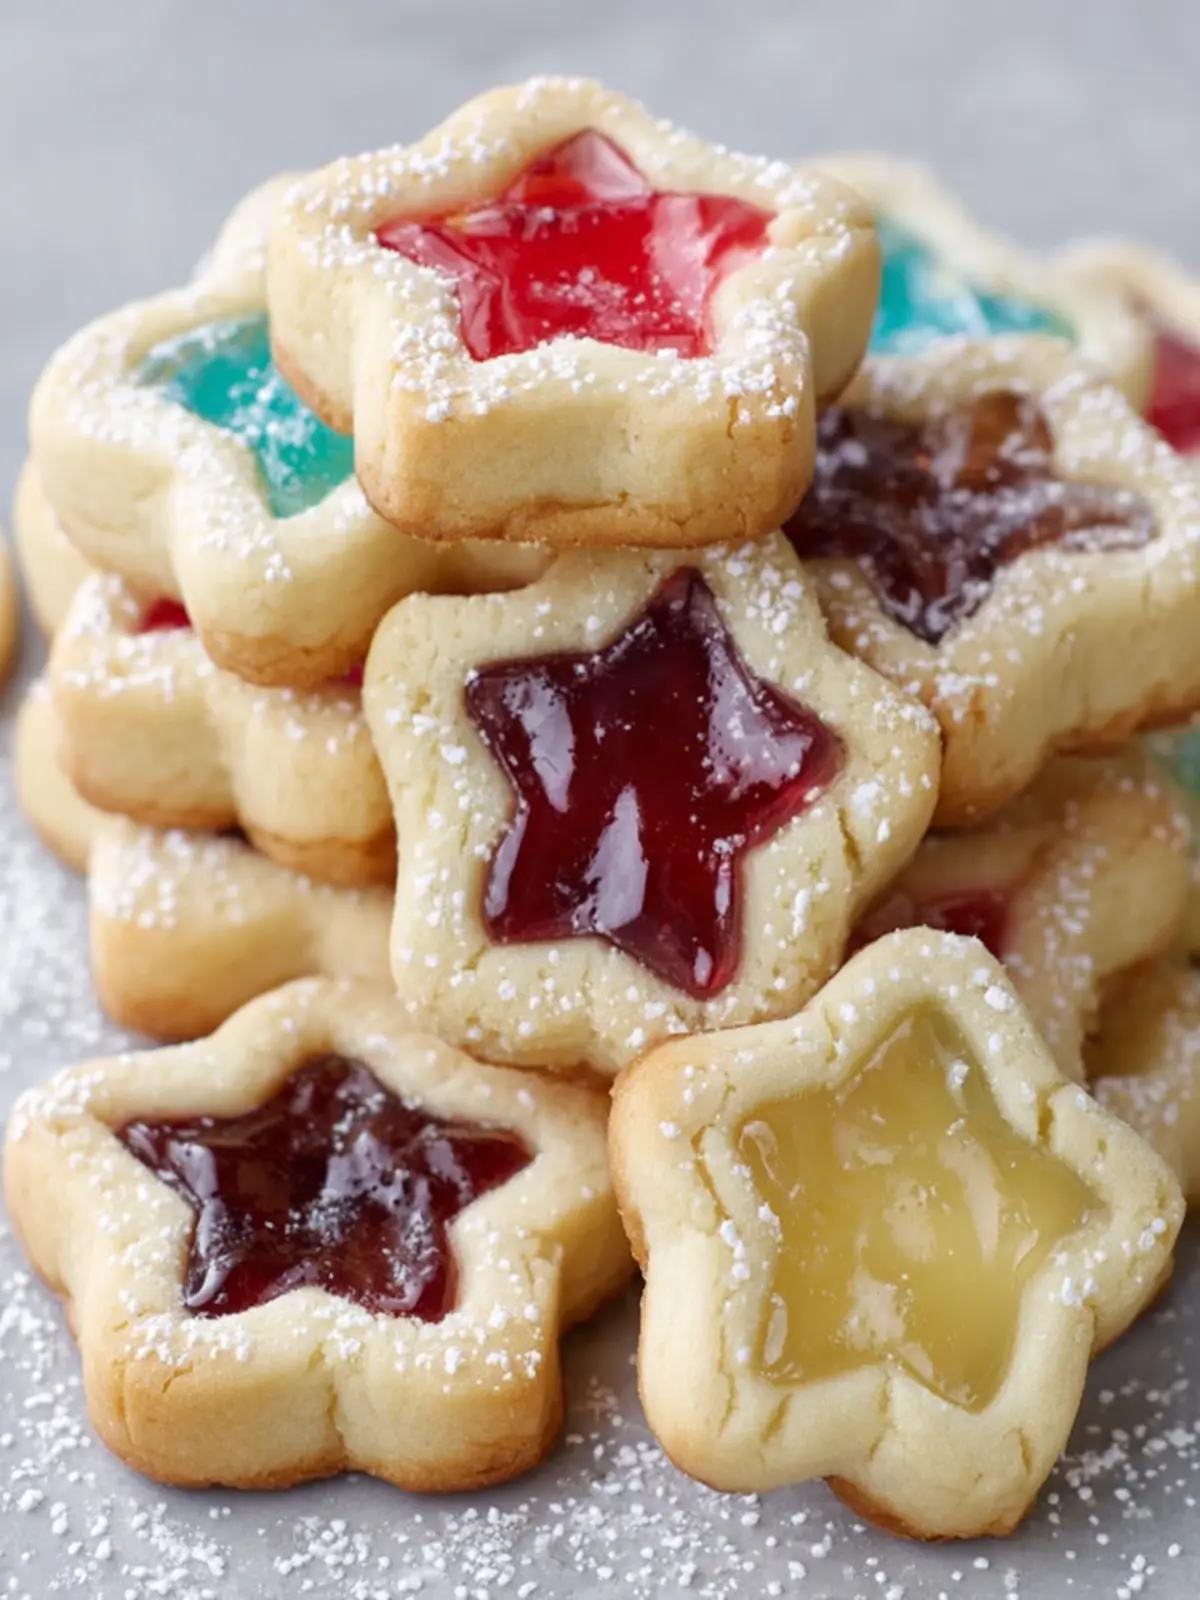
Imagine walking into a cozy kitchen filled with the warm aroma of freshly baked cookies. Now, add a twist: vibrant bursts of color peeking through delicate, sugar-encrusted windows. This is the enchanting world of stained glass window cookies. With their intricate designs resembling beautiful glass art, these cookies are more than just a delightful treat – they’re a canvas for creativity and a feast for the eyes.
Baking these cookies is not just about following a recipe; it’s an experience that brings loved ones together. Picture spending an afternoon with friends or family, rolling out dough and crafting unique shapes, all while sharing laughter and stories. The fun continues as you carefully place the crushed candies that will create that stunning “stained glass” effect, transforming ordinary sugar cookies into extraordinary masterpieces.
What Makes Stained Glass Window Cookies So Special?
Stained glass window cookies are special for several reasons:
-
Visual Appeal: Each cookie tells a story with its colorful design, making them perfect for holiday gatherings, birthdays, or any occasion that calls for a festive touch.
-
Customizability: The dough is versatile, allowing you to use various shapes and colors of candies. This means you can tailor your cookies to any theme or color scheme – from Halloween ghosts to Christmas stars or even summer flowers.
-
Creativity in Baking: The process of making these cookies encourages imagination. Not only do you get to pick shapes and colors, but you also have the chance to experiment with different flavors in the dough or even the candy.
-
Family Tradition: Baking together fosters bonds and creates lasting memories. Imagine the delight on a child’s face as they watch their cookies transform into bright, colorful treats, perhaps starting a Christmas or birthday tradition that will carry on for generations.
Incorporating these cookies into your baking repertoire offers a delightful blend of art and fun. Plus, they taste great! With a crispy texture and sweet candy centers, they’re sure to impress anyone lucky enough to taste them. It’s time to roll up your sleeves and embrace the joy of making stained glass window cookies.
Key Ingredients for Stained Glass Window Cookies
Unsalted Butter: The cornerstone of any great cookie, unsalted butter lends richness and depth to your stained glass window cookies. I always prefer unsalted because it allows me to control the salt levels and highlight other flavors. If you’re in a pinch, feel free to swap in salted butter and reduce any additional salt in the recipe.
Granulated Sugar: This is where the magic begins. Granulated sugar creates that classic sweetness and helps achieve a delightful crispness along the edges. Using just the right amount balances the flavors perfectly without overpowering the intricate candy designs.
Large Egg: Each large egg brings moisture and binds everything together. For those perfect chewy textures that complement the sweet candy, try to use room temperature eggs, as they incorporate into the dough more easily.
Vanilla Extract: A splash of pure vanilla extract adds a warm, aromatic note that elevates our stained glass window cookies. It enhances the overall flavor profile and creates a comforting essence that you and your loved ones will adore.
All-Purpose Flour: The backbone of your cookie dough, all-purpose flour provides structure. Sift it well before measuring to avoid clumping and ensure a light, fluffy end product.
Baking Powder: A pinch of baking powder helps these cookies rise just enough for that perfect texture. It contributes to a lighter bite, ideal for showcasing the vibrant candies inside.
Salt: Just a sprinkle of salt enhances the overall flavor of the cookies. It may seem counterintuitive, but salt is a flavor amplifier and helps bring out the sweetness of the candies.
Assorted Hard Candies: The highlight of any stained glass window cookies! Feel free to mix and match your favorites—colorful hard candies like Jolly Ranchers or Life Savers melt beautifully to provide that stunning window effect. The result is a cookie that’s not only tasty but also visually impressive!
Why You’ll Love Stained Glass Window Cookies
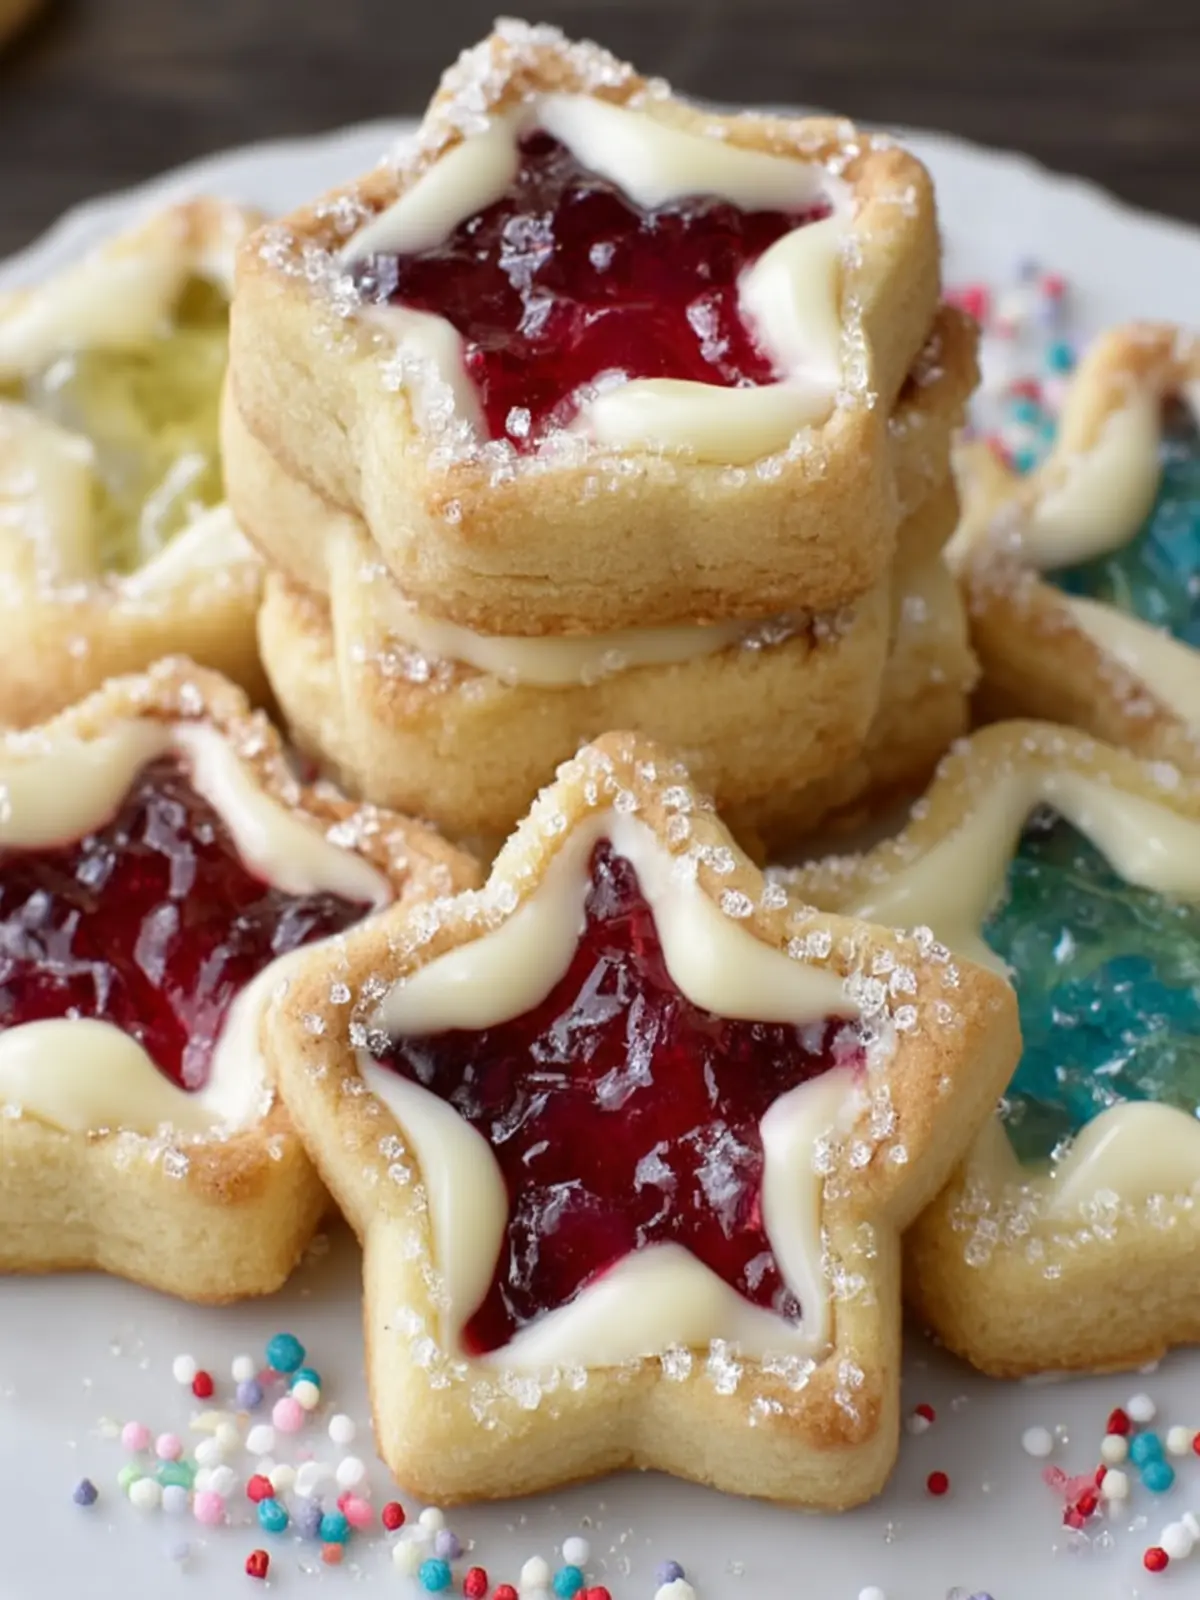
Stained glass window cookies are not just a treat; they are an edible work of art that brings a splash of color to any gathering. Imagine unwrapping a beautiful cookie that reveals a vibrant, translucent center, sparkling as it catches the light. These cookies evoke a sense of nostalgia, reminding many of childhood holidays spent baking with family. The moment you present these cookies at a party, expect oohs and aahs as your friends and family marvel at their beauty.
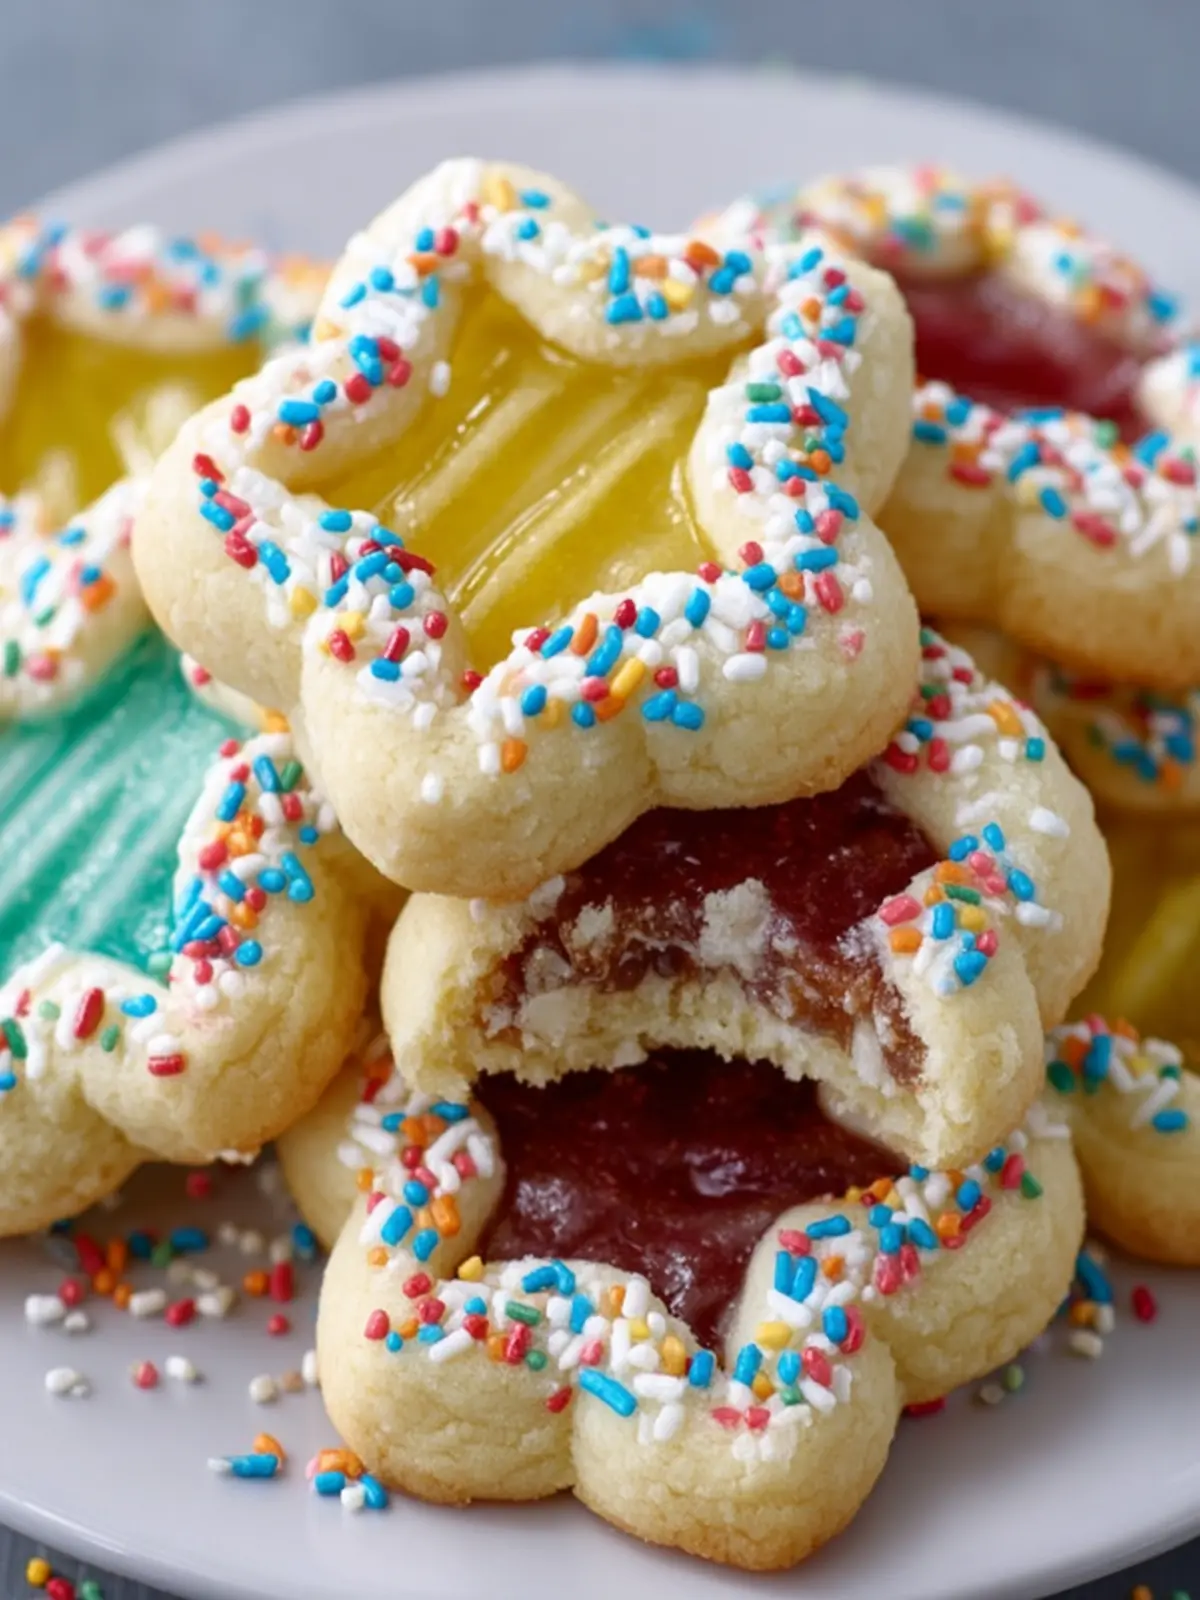
Beyond their eye-catching appearance, stained glass window cookies offer a delightful combination of flavors. The buttery cookie base, paired with the sweet, fruity essence of crushed candies, creates a perfect balance that will keep you reaching for just one more. Sharing these cookies is as rewarding as baking them; they spark joy, create memories, and are a great conversation starter.
Additionally, they are surprisingly simple to make, requiring just a few basic ingredients and a little patience. These cookies are both a creative outlet and a playful twist on traditional recipes, making them an enjoyable project for both novice and seasoned bakers. Your kitchen will be filled with laughter and delicious scents as you create these edible masterpieces!
Variations of Stained Glass Window Cookies
Stained glass window cookies bring a delightful twist to your cookie platter, and experimenting with variations can elevate this festive treat even further. You can easily switch up the flavors and shapes to create a unique experience for your friends and family.
Flavor Twists
-
Citrus Burst: Incorporate citrus zest, like lemon or orange, into the cookie dough. The bright flavors complement the sweetness of the candy and make your stained glass window cookies refreshing.
-
Nutty Goodness: Add chopped nuts, such as almonds or walnuts, to the dough. They provide a satisfying crunch and deepen the flavor profile of the cookies.
Different Shapes
-
Holiday Themes: Use various cookie cutters to create different shapes that fit the occasion—hearts for Valentine’s, stars for the holidays, or even Easter bunnies. These variations make your cookies even more appealing.
-
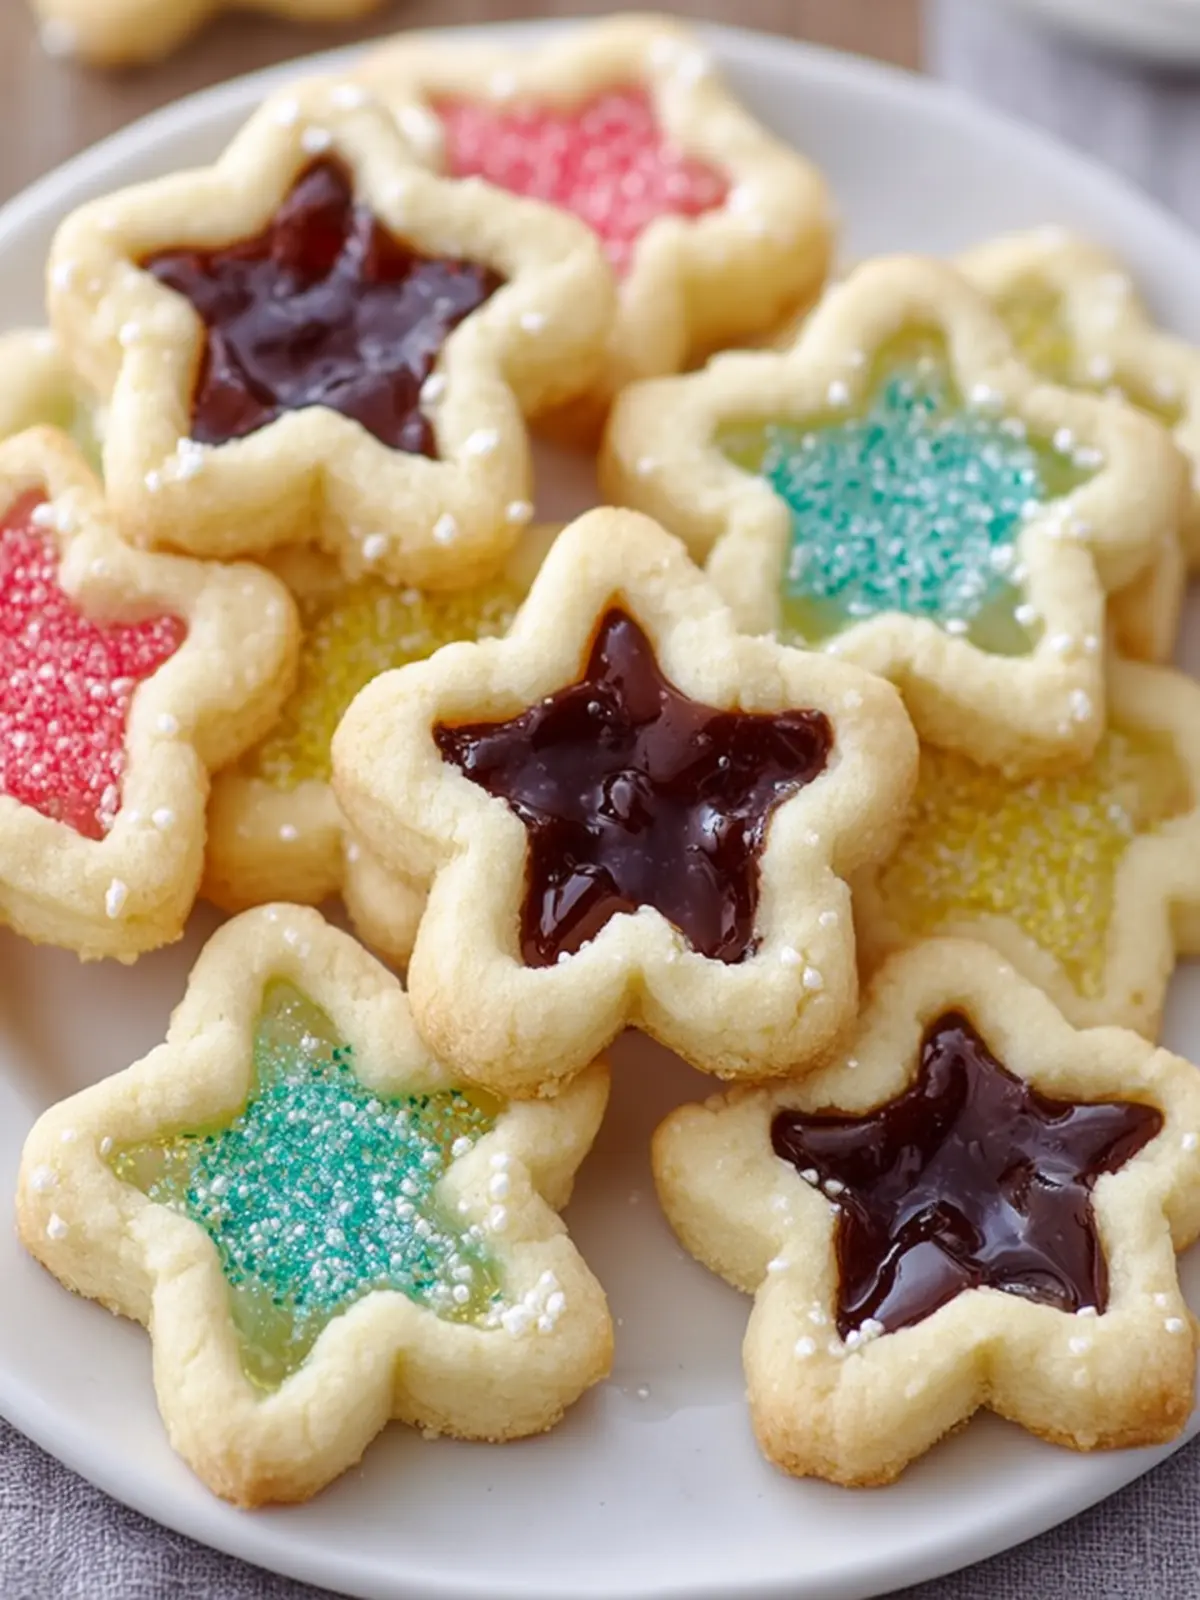
Layered Glass: Instead of filling the centers with one type of candy, use a mix of colors and layer them for a stunning stained glass effect. This approach not only enhances visual appeal but also adds an exciting array of flavors.
Whether you stick to the classic method or try out these exciting variations, your stained glass window cookies are guaranteed to impress and delight. What creative twist will you try next?
Cooking Tips and Notes for Stained Glass Window Cookies
Creating stained glass window cookies is not just about following a recipe; it’s about indulging in a fun, hands-on baking experience that’s visually stunning as well. These cookies look like they came straight out of a fairy tale, and with a few handy tips, you can ensure your batch turns out perfectly every time.
Choose Vibrant Candy
When making stained glass window cookies, selecting the right candy is crucial. Opt for hard candies in bright colors like Jolly Ranchers or Life Savers. These melt beautifully, forming captivating “glass” effects. Be careful not to use gummy candies, as they don’t melt in the same way.
Use a Sturdy Dough
The base of your cookies requires a sturdy dough that holds its shape. I recommend chilling the dough before rolling it out. This makes it easier to cut shapes without them getting misshapen. Also, don’t skip the chilling step after cutting out the shapes; it helps them maintain their design during baking.
Create Perfect Cutouts
If you’re aiming for that stunning stained glass effect, precision is key. Use cookie cutters to create shapes carefully, ensuring the cutouts for the candy are not too small. A larger opening allows for a better melted candy surface.
Mind the Baking Time
Keep a close eye on your cookies as they bake. Overbaking can lead to a tough texture. You want them to be golden around the edges but still soft in the center when you remove them.
Let the Window Glaze Dry
After baking, your stained glass window cookies need time to cool and for the melted candy to harden. Consider leaving them at room temperature for a couple of hours, allowing for the best display of your beautiful window effects.
With these tips, your baking adventure will not only yield delicious cookies but also a dazzling display that impresses at any gathering. Happy baking!
Serving Suggestions for Stained Glass Window Cookies
Stained glass window cookies are not just delightful treats; they’re a canvas for your creativity! These vibrant cookies make excellent gifts, perfect for various occasions, and can elevate any gathering.
Perfect Pairings
-
Beverages: Enjoy your stained glass window cookies with a warm cup of tea or coffee. The sweetness of these cookies balances nicely with the slight bitterness of dark coffee or the refreshing notes of herbal tea.
-
Occasions: Use them as a charming addition to holiday celebrations, birthday parties, or even casual get-togethers. They look stunning on dessert tables, capturing guests’ attention with their colorful “glass” appearance.
-
Creative Displays: Consider using a decorative cookie jar or a tiered stand to showcase them. You can even wrap individual cookies in clear cellophane tied with colorful ribbons for a thoughtful gift.
Kids’ Activity
These cookies can also be a fun baking project with children. Decorating with different colored candies can nurture their creativity and result in deliciously unique treats that everyone can enjoy.
With these serving suggestions, you can transform ordinary moments into unforgettable experiences with your stained glass window cookies!
Time Breakdown for Stained Glass Window Cookies
Creating beautiful stained glass window cookies is more than just a baking project; it’s a delightful experience that fills your kitchen with the sweet aroma of buttery cookies and the vibrant colors of candy. As an avid baker, I’ve discovered how a little time investment can yield stunning results that impress family and friends alike.
Preparation Time
Getting everything ready for your stained glass window cookies takes about 30 minutes. You’ll create the dough, cut out shapes, and prepare the candies for that gorgeous stained glass effect.
Baking Time
Once your cookies are in the oven, they’ll bake for about 10-12 minutes. Keep an eye on them—they should be lightly golden around the edges while the center is still soft.
Total Time
In total, you’re looking at around 40-45 minutes from start to finish. This quick timeframe means you can whip these up for any occasion, whether it’s a festive gathering or a cozy night in with friends. Enjoy the process and the delightful treats you create!
Nutritional Facts for Stained Glass Window Cookies
When baking stained glass window cookies, understanding the nutritional profile can add an extra layer of enjoyment to these delightful treats. Knowing what goes into them not only satisfies your curiosity but also helps you indulge mindfully.
Calories
Each cookie contains about 100 calories. While these aren’t the lightest cookies out there, their vibrant flavors and visually stunning presentation make them a worthwhile treat for special occasions.
Protein
You’ll find approximately 1.5 grams of protein per cookie, mainly thanks to the eggs and flour. While they aren’t a significant source of protein, pairing them with a glass of milk can help balance your snack.
Sodium
With about 50 mg of sodium per cookie, these stained glass window cookies are relatively low in salt. Enjoy these sweet gems without worrying too much about your sodium intake, making them perfect for celebrations!
FAQs about Stained Glass Window Cookies
Stained glass window cookies are a delightful treat that adds color and whimsy to any occasion. Yet, even the most seasoned bakers have questions when it comes to these vibrant cookies. Let’s explore some common queries to help you make the best batch possible.
Can I use different types of candies?
Absolutely! While traditional recipes often call for hard candies like Jolly Ranchers, feel free to experiment with any colorful candy that melts well. Just make sure it’s a hard sugar candy that can turn into a lovely, glass-like filling when baked.
How do I store leftover cookies?
To maintain the freshness of your stained glass window cookies, store them in an airtight container at room temperature. They usually last about a week, but good luck keeping them around that long—they’re simply too tempting!
What if I don’t have cookie cutters?
No problem! If you don’t have cookie cutters, you can use any glass or jar to cut out shapes. Alternatively, you can mold the dough into fun shapes by hand. Think of it as a creative opportunity!
Can I make the dough ahead of time?
Yes, you can! Prepare the dough a day in advance and refrigerate it. Just make sure to wrap it tightly in plastic wrap so it retains moisture. When ready to bake, let it sit at room temperature for a few minutes before rolling out.
How can I achieve more vibrant colors with the candy?
To enhance color vibrancy, consider using candies that are labeled as “fruit flavored” or “colorful.” Additionally, ensure that the candies do not have a lot of white or clear elements; the more colorful, the better! Melt the candies at a controlled temperature to avoid dulling their bright hues.
Conclusion on Stained Glass Window Cookies
Creating stained glass window cookies is not just about baking; it’s about crafting a fun, edible masterpiece that ignites your creativity. These cookies can brighten any occasion, from holiday gatherings to casual get-togethers. When you see the vibrant colors of the candy shining through, you’ll know you’ve made something special. As you share them with friends and family, remember that each bite carries a bit of your personality and care. Don’t hesitate to experiment with different candy combinations or shapes, making these delights truly your own—after all, the best stories start in the kitchen!
Print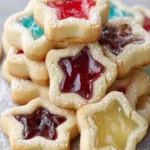
Stained Glass Window Cookies
- Total Time: 1 hour and 30 minutes
- Yield: 24 cookies 1x
Description
Enjoy your beautiful and delicious stained glass window cookies!
Ingredients
Scale
- 1 cup unsalted butter, softened
- 1 cup granulated sugar
- 1 large egg
- 1 teaspoon vanilla extract
- 3 cups all-purpose flour
- 1/2 teaspoon baking powder
- 1/4 teaspoon salt
- Assorted hard candies, crushed
Instructions
- Prepare the Dough:
- In a large bowl, cream the softened butter and granulated sugar together until light and fluffy.
- Add the egg and vanilla extract, mixing well.
- In a separate bowl, whisk together the flour, baking powder, and salt.
- Gradually add the dry ingredients to the wet mixture, mixing until a dough forms.
- Wrap the dough in plastic wrap and refrigerate for at least 1 hour.
- Preheat and Prepare:
- Preheat your oven to 350°F (175°C).
- Line baking sheets with parchment paper.
- Roll and Cut:
- On a lightly floured surface, roll out the dough to 1/4-inch thickness.
- Use a large cookie cutter to cut shapes out of the dough.
- Use a smaller cutter to cut out the center of each cookie.
- Add the “Stained Glass”:
- Place the cookies on the prepared baking sheets.
- Fill each cookie center with crushed hard candies.
- Ensure the candy fills the space, but be careful not to overfill.
- Bake:
- Bake cookies for 8-10 minutes, or until the edges are lightly golden and the candy centers have melted completely.
- Allow the cookies to cool on the baking sheet for a few minutes before transferring to a wire rack to cool completely.
Notes
- Ensure the candies are crushed into small pieces for quick melting.
- For easy crushing, place candies in a zip-top bag and use a rolling pin to break them up.
- Keep an eye on the cookies to ensure the candy centers do not bubble over.
- Experiment with different shapes and colors to create a variety of designs.
- To prevent sticking, check that the dough is well-chilled before cutting.
- Prep Time: 1 hour
- Cook Time: 10 minutes
- Category: Desserts
- Method: Baking
- Cuisine: American
Nutrition
- Serving Size: 1 cookie